Soldering SMD parts by hand can be a challenge. After several manual attempts, with varying degrees of success, and faced with a pile of unpopulated PCB, I began looking for a better way. You guessed it, a reflow oven became the logical next step.
The internet is full of commercial solutions along with plenty of helpful DIY options. In the end I went down the thrift store toaster oven route. Follow me!
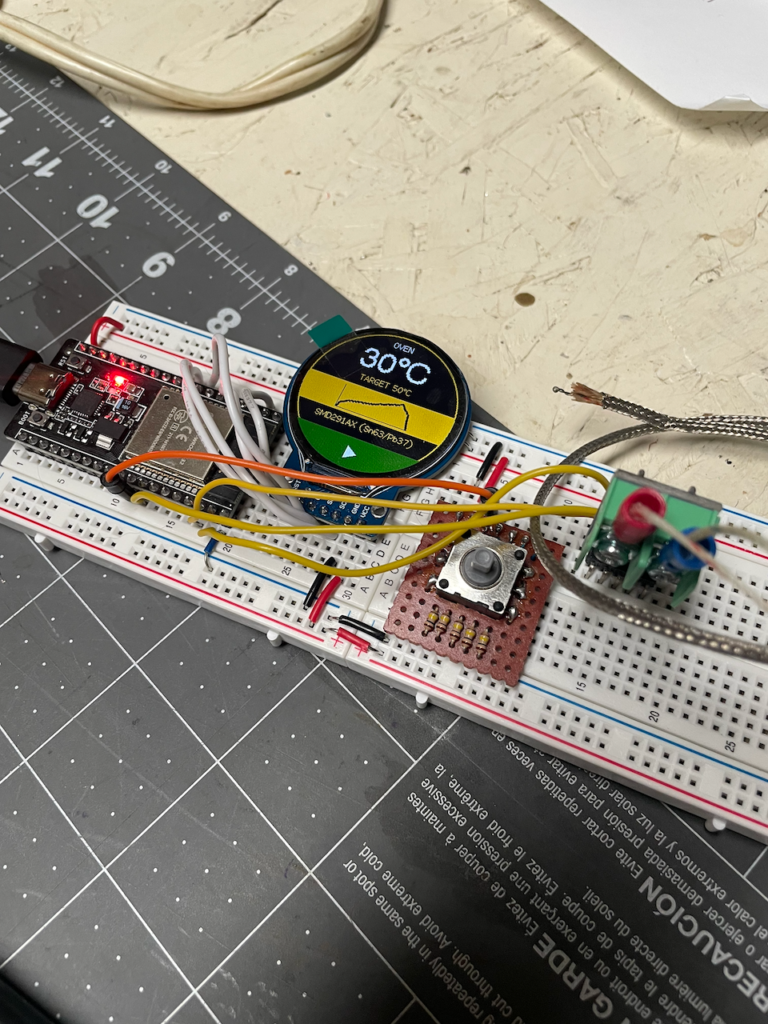
Let’s start with the basic electronics to control the heating elements. Initially an ESP8266 was used, but it was way too slow to refresh the TFT’s graphics in real time. So I bumped the project up to an ESP32. Once that worked, support for multiple heating profiles was added. I couldn’t help but add some graphics to contrast the “desired” and “actual” temperature profiles during reflow runs.
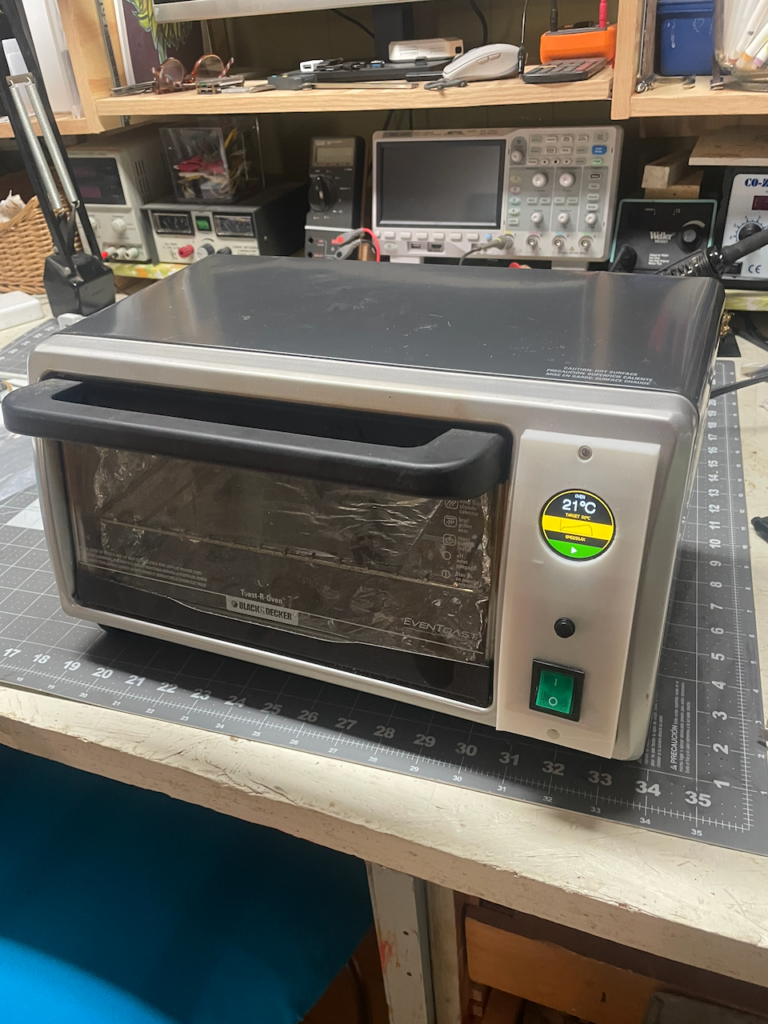
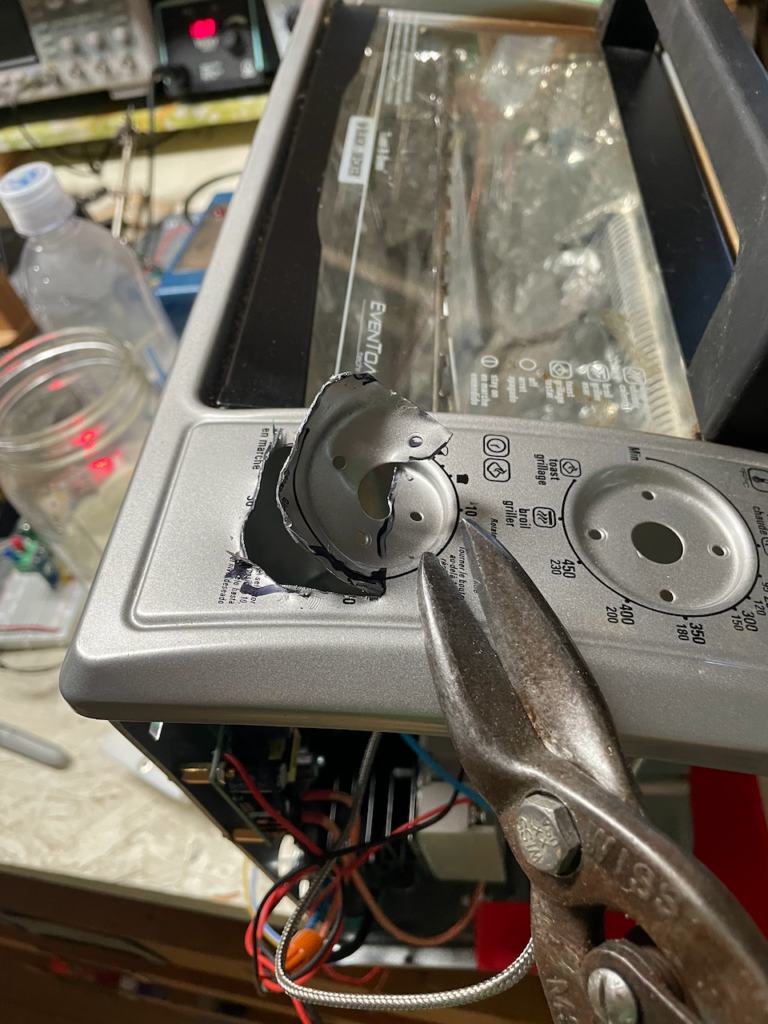
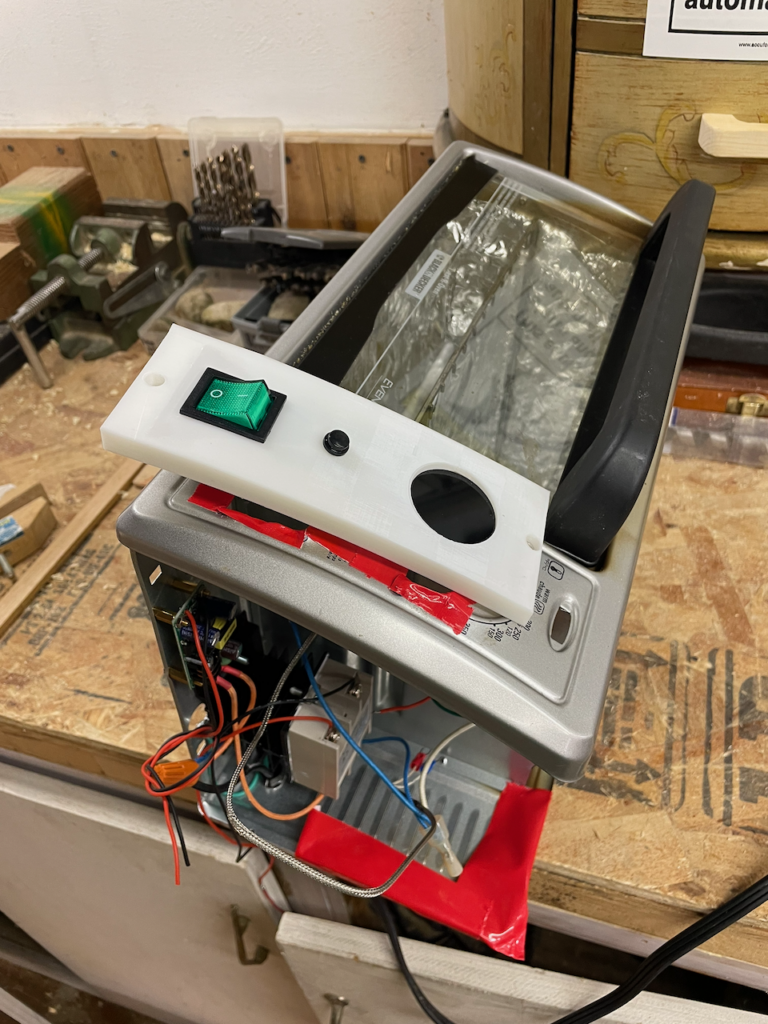
OK, the code works, now for the oven itself. The local thrift store had this beauty on the shelf for $6. I started by clearing space for the electronics physical controls.
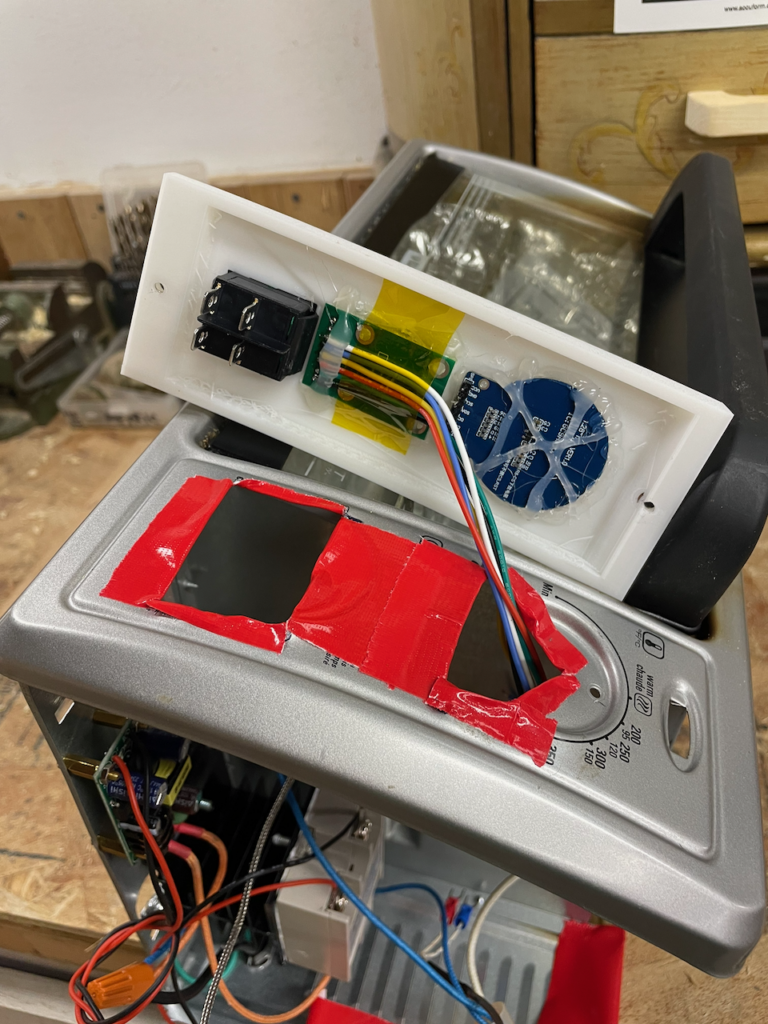
A 3D-printed faceplate saved the day by allowing me to place everything cleanly and hide the glaring holes I made in the oven.
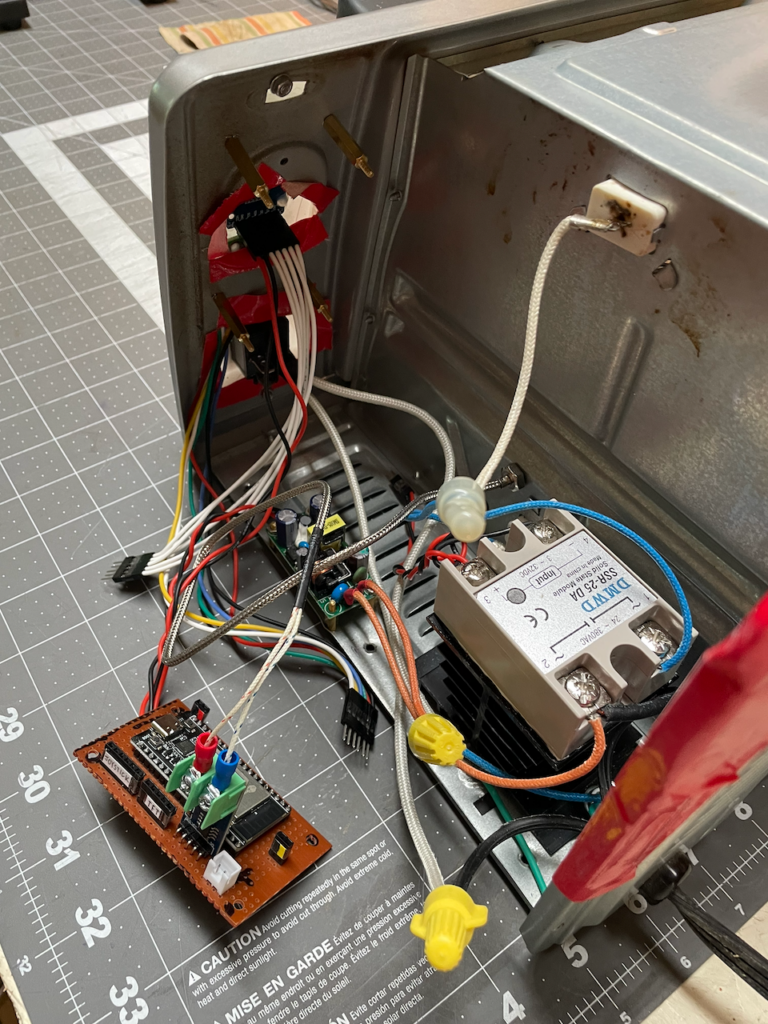
The workhorse of this project is the big SSR (solid state relay), shown below, connected to mains power on one side and the heating element on the other. A PID algorithm strobes the heating elements and monitors the actual temperature in the oven. This feedback loop allows the oven to follow a temperature curve relatively accurately.
So far so good! I’ve reflowed several PCBs, including several two-sided boards. The two-sided boards required two reflows, first a high temperature run for one side, then a lower temperature run for components on the other side.